To lock a coupler latch, align on level ground, lower the coupler onto the hitch ball, push the latch until it clicks, then confirm by lifting the jack. A properly locked trailer coupler is the most important safety step before any tow: it carries the full tongue weight and holds through braking and cornering. Most detachments trace back to an incomplete latch engagement, not a parts defect. This guide explains the latch mechanism, walks through each step, and shows a thirty-second verification test. The procedure follows SAE J684 coupling principles and U.S. FMVSS / NHTSA breakaway requirements.
How a Trailer Coupler Latch Works
Hitch ball and coupler fit
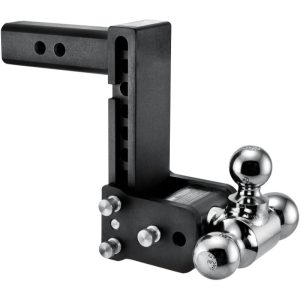
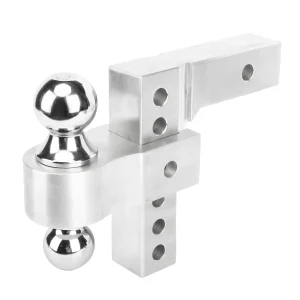
The connection is a matched pair: the hitch ball on the tow vehicle and the coupler on the trailer tongue. Balls come in three diameters – 1-7/8″, 2″, and 2-5/16″ – and couplers in three mounts: straight tongue, A-frame, and channel. SAE J684 defines these interfaces so ball and socket share the same diameter and hardness window. Forcing a mismatch, such as a 2-5/16″ ball into a 2″ coupler, leaves the latch riding on the ball’s shoulder instead of its seat – it can look closed yet separate on the first bump. Production ratings scale with class: roughly 2,000 lb on a 1-7/8″ straight-tongue unit, 3,500 lb (Class II) on a 2″ straight, 5,000 lb (Class III) on a 2″ quick-lock, and 7,000 lb on a 2″ A-frame. Capacity comes from the coupler class, not from how hard you press the handle.
The latch mechanism
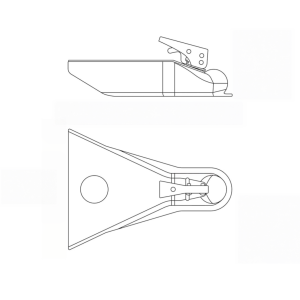
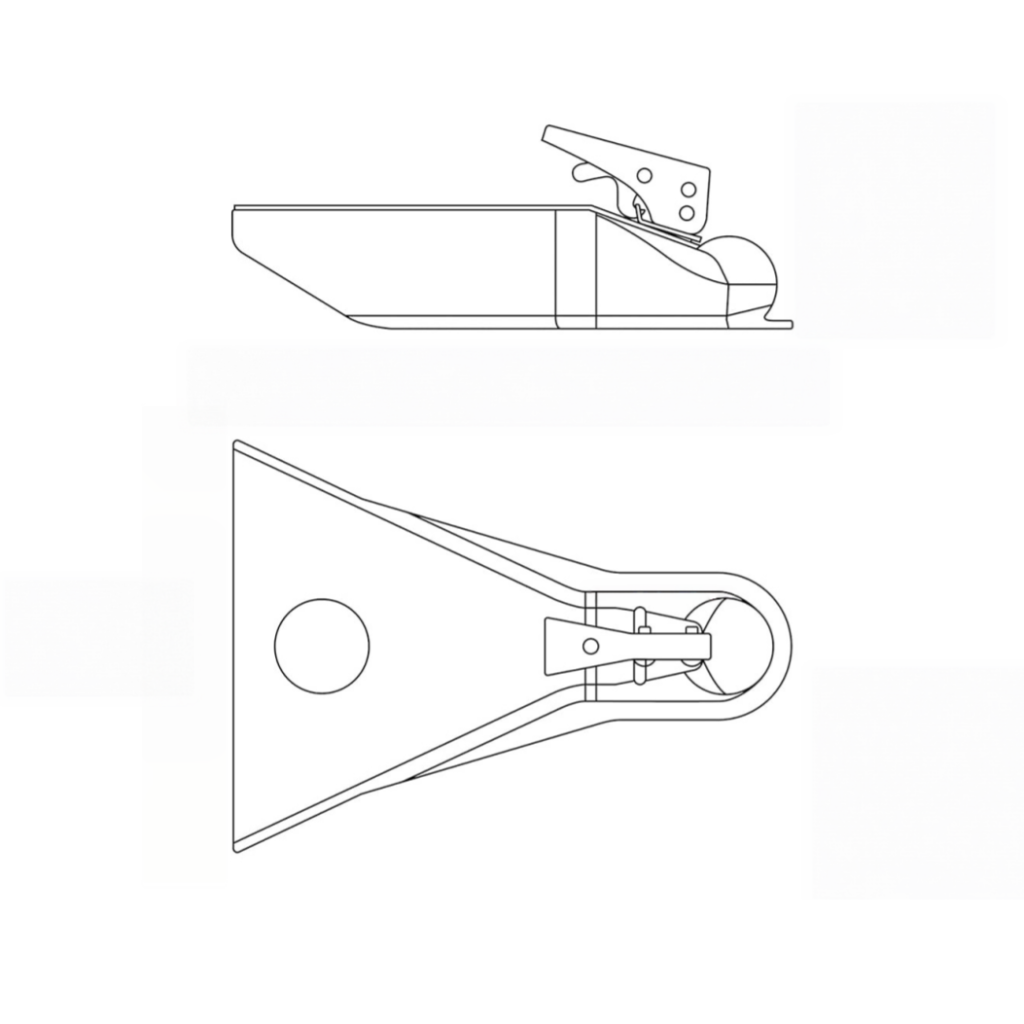
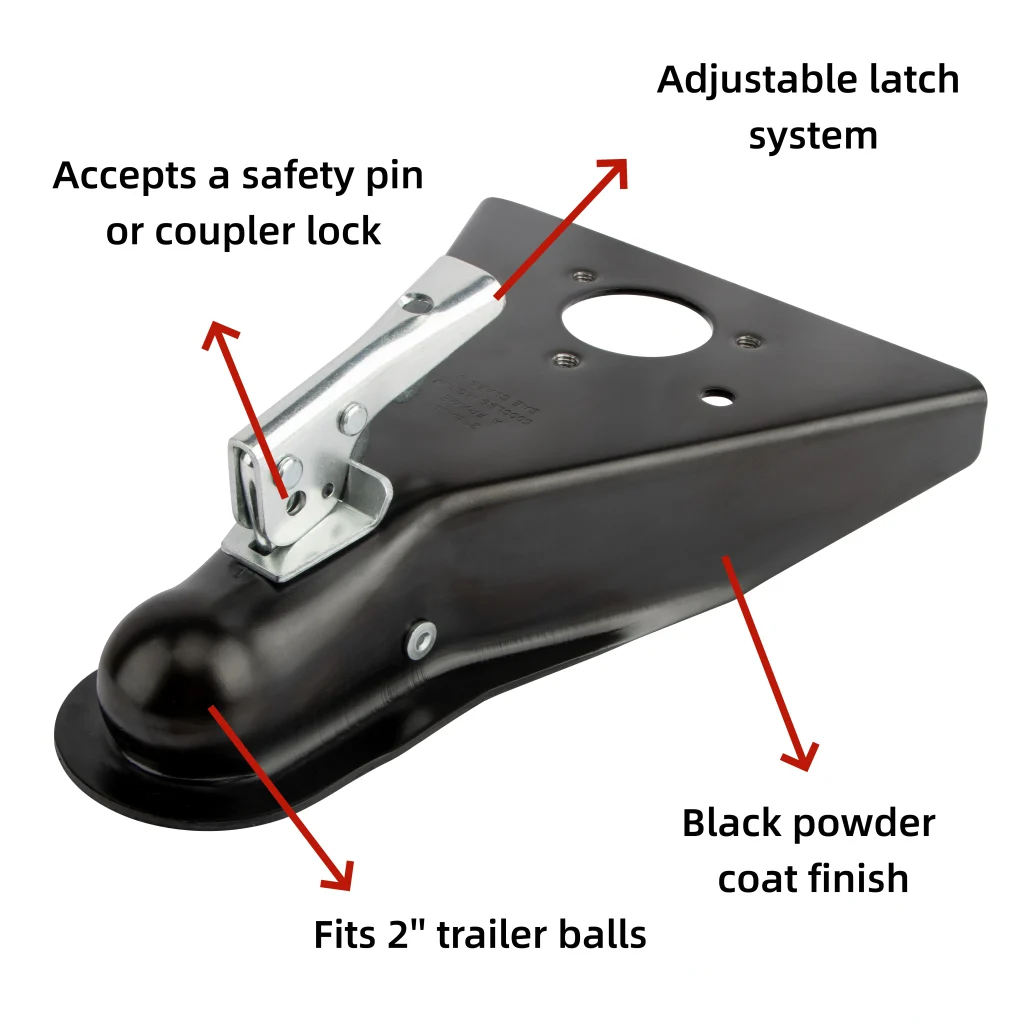
Inside the coupler, the latch is a lever-and-clamp linkage. A top handle turns and drives a rod whose pin rides along a pair of ramped surfaces, converting rotation into straight-line travel that slides the clamp between unlocked and locked. When the ball is fully seated, the clamp drops into the socket and the handle stops with light pressure and a firm click. If you must force the handle, the clamp is still on the ball’s shoulder – a partial engagement that reads as locked but is not. A correctly locked coupler will not lift off the ball when you raise the jack; that hand test is the fastest proof of a real seat.
Typical trailer coupler load capacity by design (lb):
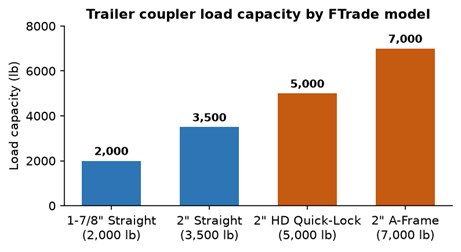
Figure 1. Load capacity rises with coupler class – from a 2,000-lb straight-tongue unit to a 7,000-lb A-frame design.
How to Lock a Coupler Latch Step by Step
Align and lower the coupler
Park on flat ground so the coupler and ball sit at the same height; a slope misaligns them and guarantees a partial seat. Center the coupler above the hitch ball – a spotter or backup camera helps. Lower the tongue with the jack until the coupler drops fully onto the ball with no visible gap at the mouth. If it rocks, sits at an angle, or stops short, raise and realign; never nudge it forward. Channel-mount couplers use an adjustable bracket so you set height before locking, removing the mismatch that causes most failed engagements.
Engage, test, and pin the latch
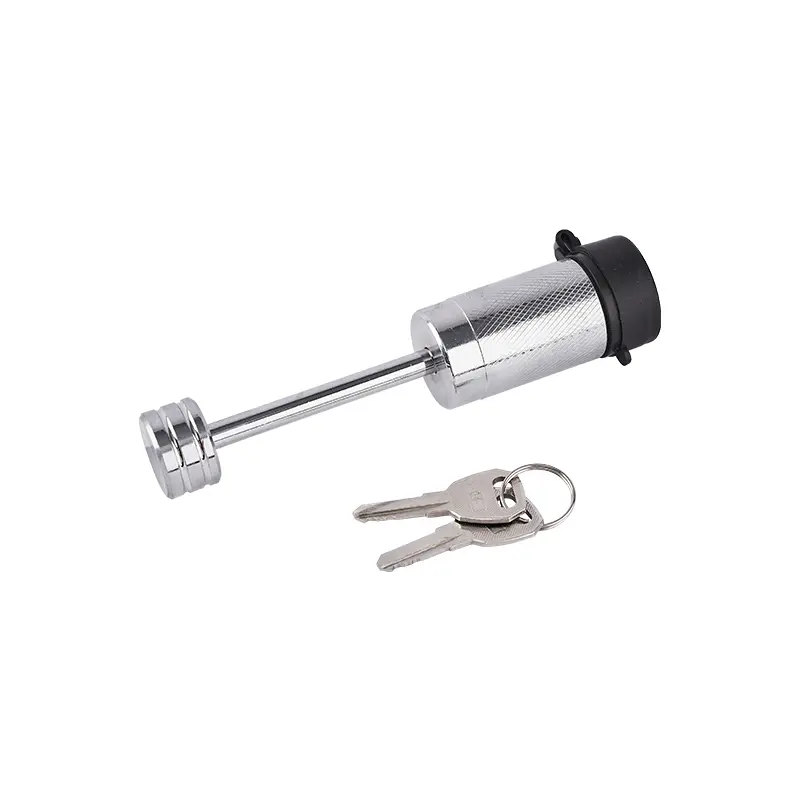
Push the latch handle down until you hear a firm click – never tow without it. Insert a locking pin or clip through the handle so vibration cannot pop it open. For theft and release protection, add a coupler lock through the same hole; locks run from a 1/4″ tongue pin to 1/2″-3/4″ receiver pins in steel or stainless. Raise the jack a few inches: the tongue should rise with the ball still captured, proving engagement. Finish with crossed safety chains (an X cradle) and a breakaway cable anchored to the frame, as FMVSS requires.
How to Verify a Coupler Latch and Choose a Lock
Road-side verification and wear limits
Verification takes thirty seconds. After locking, raise the jack so the coupler lifts slightly; a secure latch holds the ball and you should hear the click. The real risk is a worn coupler that still ‘clicks’ but no longer grips. Measure vertical play at the ball with a feeler gauge: more than 1/16″ (about 1.6 mm) means the cup is worn past its limit and the coupler should be retired. Also inspect for spiderweb cracks at the welds, rust, a bent latch, or a weak spring. In our QC experience, couplers pulled for excess play usually show cup wear and lost spring tension from missed lubrication. For the matching interface, see our trailer hitch ball mounts guidance on sizing the ball to the coupler within SAE J684.
Selecting a lock by connection point
The table maps common lock types to their use:
| Lock type | Pin size | Material | Fits |
| Coupler tongue lock (barbell) | 1/4″ | Steel, black / chrome | Latch-type couplers |
| Straight hitch lock (TW / CT) | 1/2″, 5/8″, 3/4″ | Steel / stainless | Receiver & ball mount |
| Bent hitch pin lock | 1/2″, 5/8″ | Steel / stainless | Tight-clearance mounts |
| Keyed-alike lock sets | Multiple | Custom keyway | Fleet management |
For the coupler latch itself, a 1/4″ barbell tongue lock suits latch-type couplers; for the receiver and ball mount, straight or bent hitch pin locks in 1/2″, 5/8″, or 3/4″ cover most setups. Fleet operators often choose keyed-alike sets so every lock opens with one key. Match the pin diameter to the hardware, not the other way around.
Frequently asked questions
What does the click mean when locking a coupler?
A firm click means the clamp has dropped into the socket and locked around the ball. Makers design the latch to click on purpose for audible confirmation; no click means reseat the coupler.
How much vertical play is acceptable between ball and coupler?
Up to about 1/16″ (1.6 mm) is the wear limit; beyond it the cup can no longer hold the ball and the coupler should be replaced. Check with a feeler gauge, not by eye.
Why must safety chains be crossed under the tongue?
Crossing forms an X cradle so that if the coupler fails, the tongue lands on the chains instead of the road. FMVSS treats the breakaway system as a mandatory backup, not the primary connection.