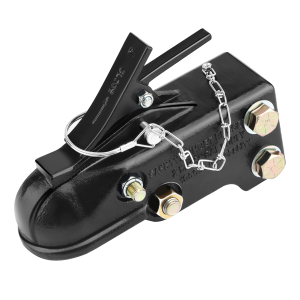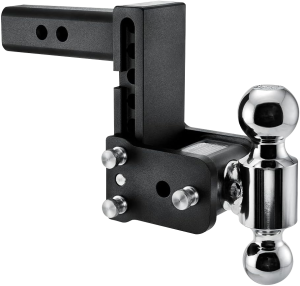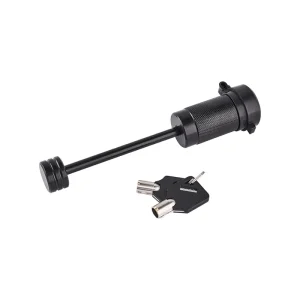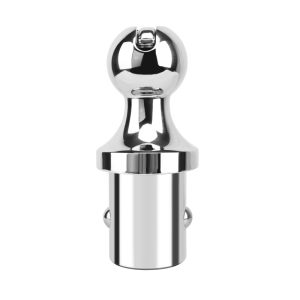
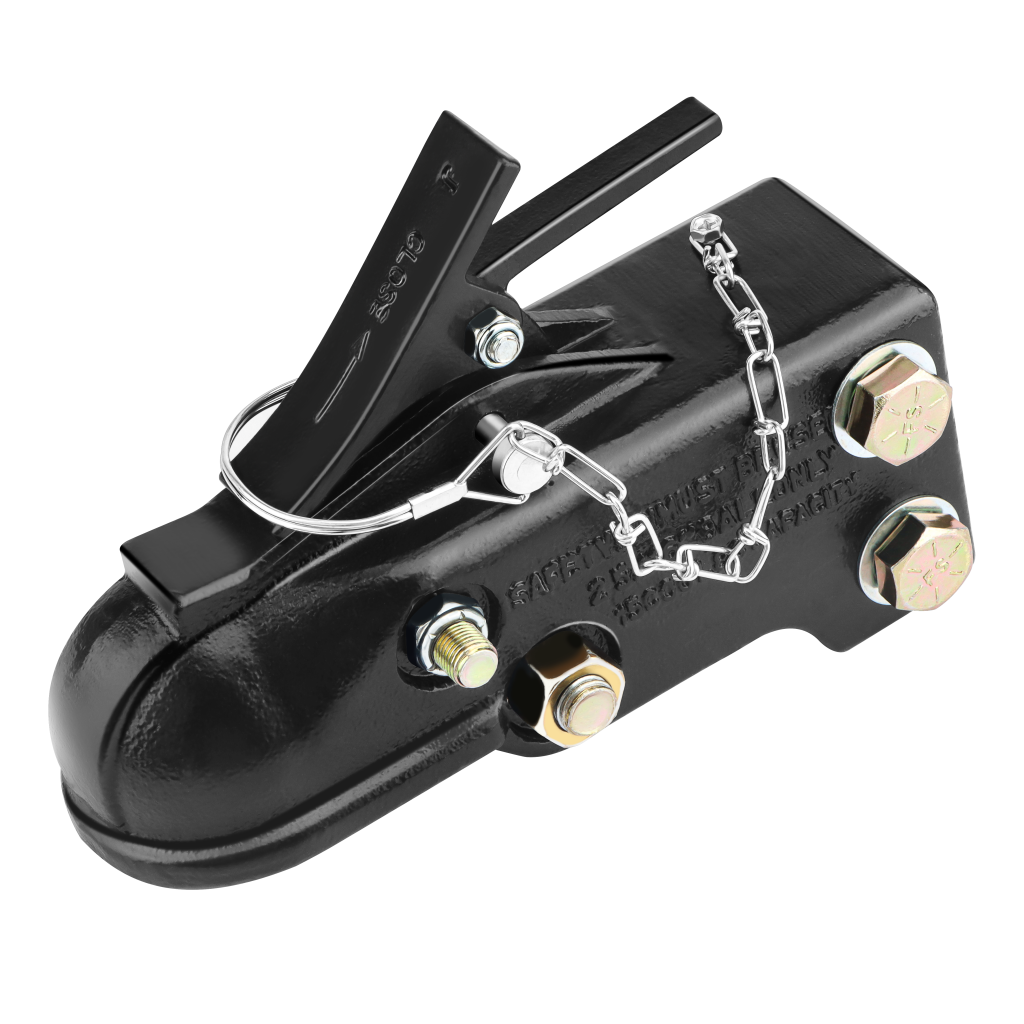
Fixing a trailer coupler follows a straightforward workflow: first diagnose the issue and coupler type, choose between a repair kit or full replacement, complete the work with proper safety precautions, then test the connection before towing. The right approach restores a safe, solid connection and avoids dangerous on-road failures.
Key Takeaways
- Identify your coupler style and inspect for damage like bent lips, deep rust, or cracked housings.
- Use a repair kit for minor latch or spring wear; replace the full coupler for bent lips, structural cracks, or severe corrosion.
- Always chock trailer wheels and use proper safety gear before starting any repair work.
- Follow step-by-step repair or replacement procedures, then verify latch fit and bolt torque.
- Test with a slow road test and recheck hardware after the first few miles of towing.
Diagnosing Trailer Coupler Issues
Identify Your Coupler Type
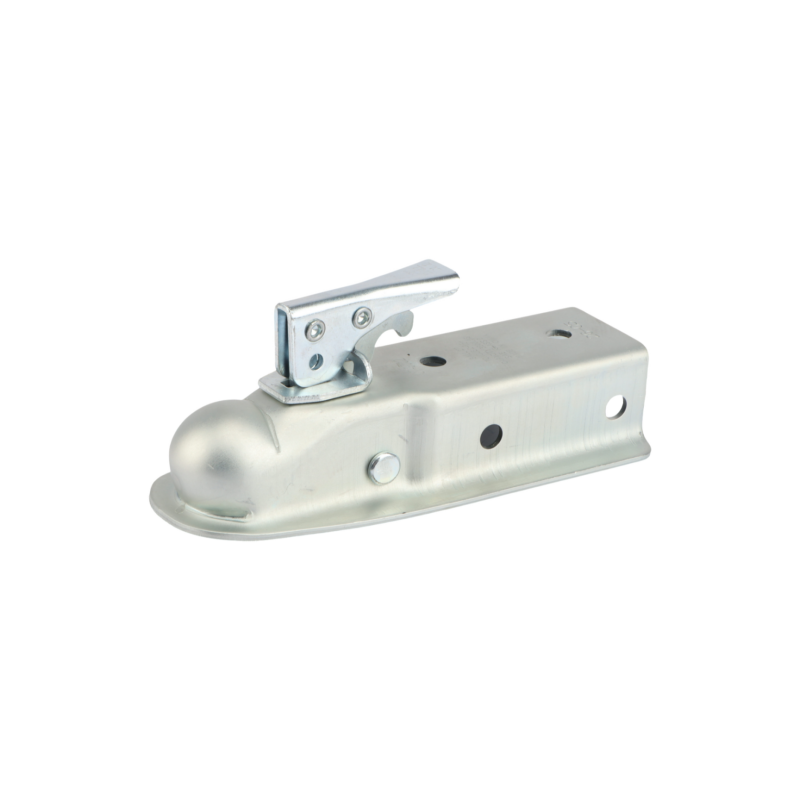
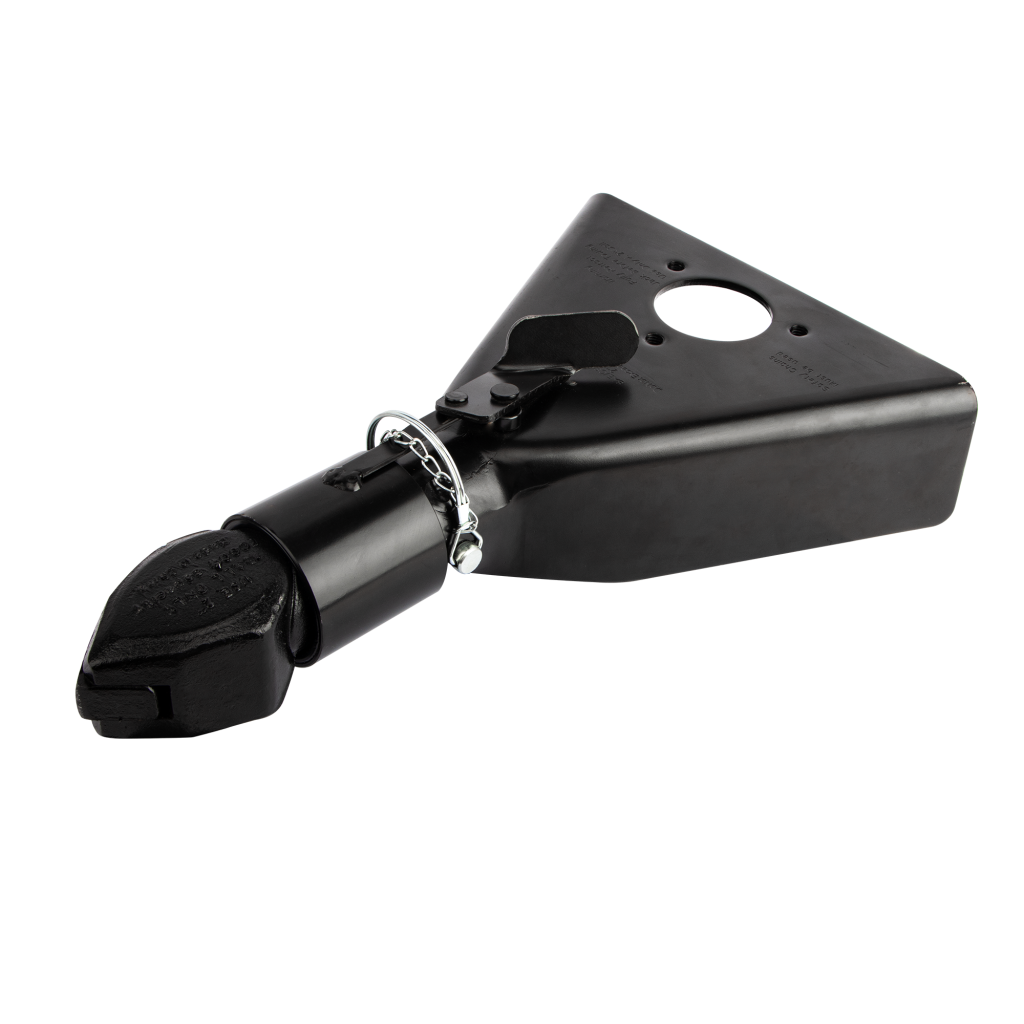
First, confirm the style of coupler on your trailer tongue, as parts and repair procedures vary by design. Common styles include A-frame, straight tongue, and channel mount couplers. A quick look at the mounting pattern and tongue shape will tell you which type you have.
Common Failure Symptoms
| Symptom | Likely Cause | Recommended Action |
|---|---|---|
| Latch won’t close properly | Debris buildup, rust, misaligned ball, wrong ball size | Clean and lubricate; verify ball size matches coupler stamp |
| Loose, rattling fit on ball | Worn ball pocket, mismatched ball size | Confirm ball size matches coupler rating; replace coupler if pocket is worn |
| Stuck or jammed latch | Rust, debris, misalignment | Clean and lubricate; inspect for structural damage |
| Bent lip under coupler | Impact damage | Full coupler replacement required — patches cannot restore safe grip |
Repair Kit vs. Full Replacement
- Repair kit: Best for couplers with solid housings and only worn latches, springs, or pivot hardware. Suitable for surface rust and minor component wear.
- Full replacement: Required for bent lips, deep pitting, cracked housings, or structural damage. A bent lip is always a replacement issue, not a repair.
Replacement Coupler Options
Replacement couplers come in A-frame, straight tongue, and channel mount styles, with finishes including powder coating, zinc plating, or galvanizing for corrosion resistance. Ensure your new part matches your tongue style, ball size, and mounting hole pattern, and meets regional safety standards (SAE, ECE, etc.) for your market.
Tools & Safety Precautions
Required Tools
- Wrench and socket set matching your bolt heads
- Calibrated torque wrench
- New replacement bolts and nuts (never reuse old, fatigued hardware)
- Tongue jack and jack stands
- Level
- Chain clips or quick links (if replacing chain hardware)
Torque Reference
| Component | Specification |
|---|---|
| 5/8″ bolt (adjustable 2-5/16″ coupler) | 150 ft-lbs |
Always confirm torque specifications for your specific coupler model.
Safety Rules
- Chock trailer wheels on both sides before starting work to prevent accidental rolling.
- Never work under an unsupported tongue; secure it with a jack stand.
- Wear gloves and eye protection to protect against rust flakes and sharp metal edges.
- Keep the work area clear of tools and debris to avoid trips and falls.
How to Repair a Coupler (Repair Kit)
Repair kits work for lever-latch couplers with intact housings:
- Slide the lever latch to the fully open position.
- Push the spade bolt through the coupler hole behind the ball pocket, keeping the lever clear of the pocket area.
- Adjust the nut in half-turn increments until the latch closes with a firm, solid snap.
- Test the latch repeatedly to confirm consistent, secure engagement.
Note: Always inspect the coupler lip and housing first. Do not attempt repair if the lip is bent or the housing is cracked.
How to Replace a Trailer Coupler
Follow this step-by-step process for full replacement:
- Prep the work area: Gather all tools and safety gear. Secure the trailer tongue with a jack stand and chock wheels.
- Remove the old coupler: Take out mounting bolts and nuts. Disconnect safety chains and any trailer wiring.
- Fit the new unit: Transfer safety chain hardware to the new coupler. Position the unit evenly on the tongue.
- Install hardware: Hand-thread all bolts and nuts through the coupler and tongue.
- Align and level: Use a level to confirm the coupler sits flat to avoid uneven wear and bolt stress.
- Torque to spec: Tighten bolts in a cross pattern to the manufacturer’s specified torque.
- Verify function: Confirm the latch moves freely and locks securely.
Testing After Trailer Coupler Repair or Replacement
Static Checks
- Lower the coupler fully onto a hitch ball and close the latch. Confirm a firm snap and snug ball fit with no rattle.
- Inspect all mounting hardware, pins, clips, and safety chain connections.
- Check trailer lights and brakes if equipped.
Road Test
- Perform a short, slow test drive. Listen for clunks, rattles, or unusual movement from the tongue.
- Pull over after the first few miles to recheck bolt torque and latch security — new hardware can settle with vibration.
- For locking couplers, verify the lock remains engaged under light load.
FAQ
How do I know if a coupler needs replacement instead of repair?
A bent lip, structural cracks, or deep rust pitting rule out a repair kit. Tap the housing with a wrench — a dull, thudding sound suggests a hidden crack. Surface rust with solid underlying metal is usually suitable for a repair kit.
How tight should the coupler adjustment nut be?
Adjust in half-turn increments until the lever locks firmly without force and holds the ball snugly. There should be no rattle in the ball pocket.
Does a repair kit fit every coupler?
No. Repair kits are designed for lever-latch couplers with intact housings. Always match the kit to your coupler style and inspect welds and bolt holes first. Stretched or cracked housings require full replacement.
What torque should coupler mounting bolts get?
Torque depends on hardware size. For a 5/8″ bolt on a standard adjustable 2-5/16″ coupler, the recommended torque is 150 ft-lbs. Always confirm specifications for your specific coupler model.
How do I test the coupler after installation?
First, hitch up and confirm a firm latch snap and snug ball fit. Follow with a short, slow road test, then recheck bolts and latch after the first few miles. Perform regular inspections after every trip for long-term reliability.